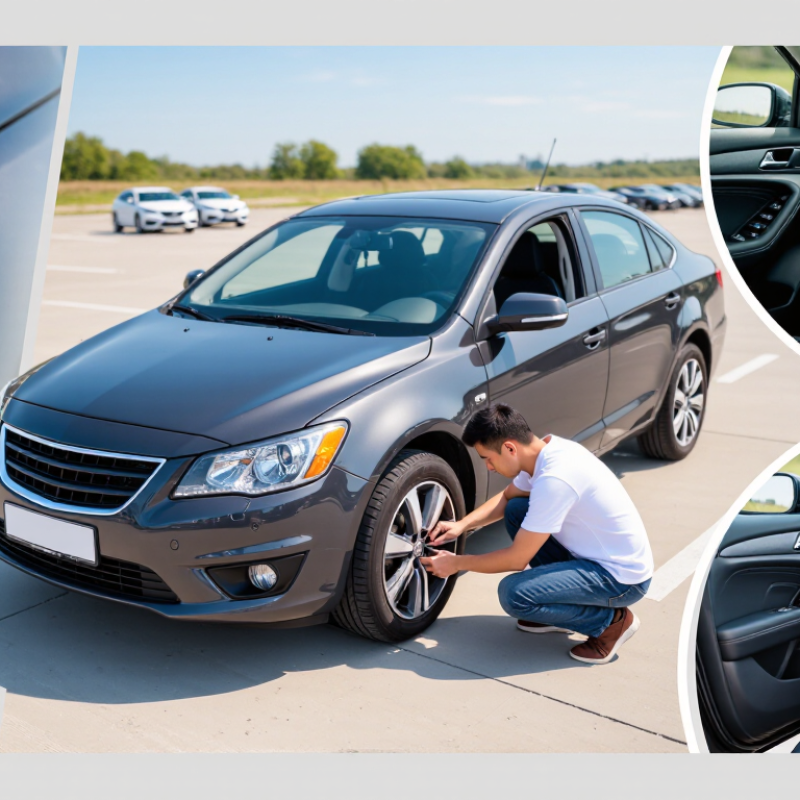
Buying a used car can feel exciting, but polished paint can hide expensive problems. A careful 360 Car Inspection helps you examine the vehicle from every practical angle before money changes hands. It combines visual checks, mechanical observations, document review, and a controlled road test. This approach does not replace a qualified mechanic, but it can reveal warning signs early.
Inspect the car in daylight, preferably when the engine is cold. Look for uneven panel gaps, mismatched paint, cracked glass, worn seals, and moisture inside the headlights. Check the tires for uneven wear, exposed cords, and different brands across the same axle. Under the hood, notice fluid leaks, damaged belts, corrosion, and unusual odors. Inside, test the air conditioning, windows, lights, seat belts, warning lamps, and electronic controls. Small details matter.
Then drive carefully on quiet roads and listen for clunks, vibration, steering pull, or delayed braking. A soft brake pedal deserves professional attention. Compare the vehicle identification number with the title and service records. Independent inspection reports and maintenance invoices provide stronger evidence than a seller’s promise. Still, no checklist catches every hidden defect. A clean engine bay may have been recently washed. A quiet test drive may not expose problems under heavier loads. Pause when something feels unclear. Paying for an independent mechanic’s assessment may cost less than repairing an overlooked transmission or cooling-system failure. This guide explains each stage clearly, while recognizing that good judgment sometimes means walking away.
Before buying, photograph the 17-character VIN through the windshield, then compare it with the driver-door label and title. One missing digit matters. Enter the VIN into the NHTSA recall database and VIN decoder. NHTSA’s 2023 recall summary recorded more than 35 million affected vehicles, showing why a clean exterior proves little. Check the recall description, remedy status, and manufacturing details. An open recall may involve brakes, steering, airbags, or fire risks. Save the result as a PDF.
NHTSA records do not certify ownership or guarantee a clear title. Request a title-history report through NMVTIS or your motor-vehicle agency, and look for salvage, flood, rebuilt, theft, or odometer flags. The American Association of Motor Vehicle Administrators describes NMVTIS as a tool for detecting title fraud and preventing unsafe vehicles from moving between states. The National Insurance Crime Bureau reported 1,020,729 vehicle thefts in 2023, so VIN verification deserves more than a quick glance. Check twice. Compare the seller’s name, VIN, mileage, and title state. Reporting delays can occur, and I would not treat a clean database result as mechanical approval. Have an independent technician inspect the car before money changes hands.
How to Do a 360 Car Inspection Before Buying a Car?
During a 360-degree inspection, examine every tire before checking the engine bay. Use a tread-depth gauge, measured in 32nds of an inch. The common replacement benchmark is 2/32 inch, or about 1.6 millimeters. Tread at this level offers limited wet-road grip and deserves immediate attention. Do not measure one convenient spot. Check the inner, center, and outer grooves on each tire. Uneven readings may reveal poor alignment, worn suspension parts, or incorrect inflation.
Tips: Look for built-in wear bars between the tread blocks. If the tread sits level with those bars, replacement is due. Check several points around each tire, not just one section. A single deep reading can create false confidence. Inspect sidewalls for bubbles, cuts, cracking, or exposed cords. These defects can matter even when tread depth looks acceptable. Also compare the four tires for different patterns or brands, which may suggest earlier replacement history.
It is easy to miss the inner shoulder because it faces underneath the vehicle. Use a flashlight and turn the steering wheel when inspecting the front tires. Record each measurement on paper. I would recheck any reading near 3/32 inch, because a worn area may reach 2/32 soon. Consider the tire’s age and condition, not tread depth alone. New-looking tread does not guarantee a healthy tire.
| Inspection Area | What to Check | Measured or Expected Value | Safety Reference | Interpretation | Recommended Action |
|---|---|---|---|---|---|
| Front Left Tire | Measure tread in the inner, center, and outer grooves; inspect for cracks, bulges, nails, and uneven wear. | 6/32 in, 6/32 in, 5/32 in | Replace at or below 2/32 in | Usable tread remains, but the slightly lower outer reading may indicate alignment or cornering wear. | Check alignment and tire pressure; continue monitoring tread uniformity. |
| Front Right Tire | Compare all three groove readings with the opposite front tire. | 6/32 in, 6/32 in, 6/32 in | Replace at or below 2/32 in | Even wear and adequate tread depth for continued service. | Verify pressure when cold and include the tire in routine inspections. |
| Rear Left Tire | Inspect tread depth, shoulder wear, sidewall damage, and embedded objects. | 4/32 in, 4/32 in, 3/32 in | Replace at or below 2/32 in | Above the legal replacement threshold, but wet-weather traction reserve is reduced compared with a new tire. | Budget for replacement soon, especially before frequent rain or long-distance driving. |
| Rear Right Tire | Check tread depth and compare wear across the axle. | 4/32 in, 4/32 in, 4/32 in | Replace at or below 2/32 in | Even wear, with less remaining tread than the front axle. | Compare tire age and condition; plan axle-pair replacement when necessary. |
| Tread-Wear Indicators | Locate the molded bars inside the main grooves and compare them with the surrounding tread blocks. | Indicator height: 2/32 in | Tread level with bars = replacement required | Indicators provide a quick warning but do not replace a calibrated tread-depth measurement. | Use a tread-depth gauge at several points on every tire. |
| Sidewalls | Look for bulges, cuts, exposed cords, deep abrasions, and cracking between or around tread blocks. | No structural damage visible | Any serious damage requires immediate attention | Sidewall damage can cause sudden air loss even when tread depth is acceptable. | Do not purchase without professional assessment if cords, bulges, or severe cuts are present. |
| Tire Pressure | Measure pressure with a gauge before driving or after the vehicle has been parked for several hours. | Within the vehicle placard specification | Use the door-jamb placard, not the maximum sidewall pressure | Incorrect pressure can cause premature wear, reduced handling, and lower fuel efficiency. | Correct pressure before the road test and recheck for slow leaks. |
| Wheel Alignment | Check for feathering, cupping, one-sided wear, steering pull, or an off-center steering wheel. | No abnormal wear or pulling | No fixed universal value; verify with an alignment check | Uneven wear may reflect alignment, suspension, or wheel-balance problems. | Request a professional inspection and include likely repair costs in negotiations. |
| Braking System | Inspect visible rotor surfaces, calipers, brake hoses, and warning lights; listen during the road test. | No leaks, grinding, vibration, or warning lights | Brake component limits vary by vehicle | Noise, pulsation, pulling, or a soft pedal requires further diagnosis. | Obtain a brake inspection before purchase if any symptom appears. |
| Suspension and Steering | Look for leaking dampers, damaged springs, loose components, excessive bounce, or unusual play. | No leaks, looseness, or excessive movement | Confirm with a lift inspection | Suspension faults can accelerate tire wear and affect braking stability. | Have an independent mechanic inspect the underside before completing the purchase. |
Measurement note: A tread depth of 2/32 inch is the commonly used replacement threshold in the United States. Tires may provide reduced wet-weather traction before reaching this point, so measurements of 4/32 inch or less should be treated as a reason to plan replacement.
A 360-degree inspection should begin before the engine starts. Walk around the vehicle in daylight, then inspect the cabin carefully. Airbag warning lights should illuminate briefly during startup and turn off afterward. A light that stays on may indicate a serious restraint-system fault. Check the steering-wheel cover, dashboard seams, and side panels for uneven gaps or fresh material. These signs can suggest previous airbag deployment or repair.
Test every seat belt, including rear positions. Each belt should latch firmly, retract smoothly, and lock during a sharp, controlled pull. Look for frayed webbing, twisted straps, damaged buckles, or missing pretensioner covers. Federal standards address belt performance, but a used vehicle may still have neglected damage. Do not judge safety by appearance alone. A diagnostic scan by a qualified technician can reveal stored restraint faults.
Switch on low beams, high beams, turn signals, brake lights, hazard lights, and reverse lights. Ask someone to confirm the rear lamps work. Check lenses for moisture or cracks. Inspect the windshield and other glass for chips, long cracks, cloudy areas, or poor replacement fitting. Safety glazing markings should be present where required, and the driver’s view must remain clear. Federal standards provide manufacturing benchmarks, not a complete promise about a used car’s current condition. I once focused on paint defects and nearly missed a seat belt that would not retract. That mistake changed my inspection routine.
How to Do a 360 Car Inspection Before Buying a Car?
A 360-degree inspection starts with the controls, not the paint. On a quiet, legal road, press the brake pedal firmly. It should feel solid, not soft or slowly sinking. During gentle braking, the car should stop straight. Pulsing may suggest rotor problems, while grinding demands immediate attention. Check the brake fluid level and look for wetness near each wheel. Never crawl underneath a vehicle supported only by a jack.
Steering should respond without excessive free play, clunks, or delayed return. Turn slowly through a parking area and listen carefully. Inspect the tires for uneven wear, which can reveal alignment or suspension faults. Push down on each corner and release it. One controlled rebound is normal; repeated bouncing is not. Look for leaking shock absorbers, cracked rubber bushings, or broken springs. I once ignored a faint front-end knock. That mistake made the inspection more expensive.
The OBD-II system has been used on vehicles since 1996. Locate the diagnostic connector and scan it with the ignition on, then with the engine running. Record stored, pending, and permanent codes. Check the readiness monitors too. If many are incomplete, the codes may have been cleared recently. Do not accept a clean screen as proof of perfect health. Compare scan results with dashboard warnings, engine behavior, and service records. A professional inspection may still uncover faults that a basic scanner misses.
Check the exterior, tires, brakes, steering, suspension, fluid leaks, and warning lights. For vehicles sold in the United States from model year 1996 onward, an OBD-II scan can also reveal emissions-related faults and monitor readiness.
The chart shows the standard OBD-II monitor structure: three monitors operate continuously during driving, while up to eight additional monitor categories run under specific conditions. Before purchase, confirm that no warning light is active, scan for stored or pending trouble codes, and verify that readiness monitors are complete according to local inspection rules. Tire tread and brake measurements must always be compared with the vehicle manufacturer’s specifications and local regulations.
A 360-degree inspection should include an independent mechanic, not only the seller’s checklist. Ask for a written inspection before signing any final agreement. The mechanic should examine the engine, transmission, brakes, suspension, tires, fluid leaks, underbody, electronics, and diagnostic codes. Request a cold start, a road test, and a lift inspection. A warm engine can hide problems.
Compare every repair estimate with local market costs. The U.S. Bureau of Labor Statistics reported a 7.1% year-over-year increase in motor vehicle maintenance and repair prices in 2023. Older vehicles may also require several repairs at once. Ask the mechanic to separate urgent safety work from delayed maintenance. Then collect two or three local quotes. Compare labor hours, hourly rates, parts quality, taxes, and disposal fees. A low estimate may exclude essential work.
Tips:
Photograph damaged parts and record the vehicle mileage. Use an independent repair database or local labor guide for a second reference. Ask, What would fail within 12 months?
That question often reveals overlooked risks. A brake estimate of 800 dollars may seem high, but regional labor rates can explain part of the difference. Still, estimates are not perfect. I have seen buyers focus on a small discount while ignoring worn tires and leaking suspension components. Reflect on the total ownership cost, not just the purchase price. When the seller refuses an independent inspection, treat that refusal as meaningful evidence.
1901 West Main Street
Washington, MO 63090
Main Directory: 1-800-227-4873
Email: sale@pangcofurniture.com

We’re always looking for talented individuals to join our team. Send us your resume using the form below. When a position comes available that matches your skillset, one of our team members will reach out to you.
"*" indicates required fields