Building a cabinet workbench is an essential project for any workshop enthusiast. Renowned woodworking expert, Jim Krenov, once said, “A cabinet workbench is a workshop's heart.” This quote emphasizes the importance of having a strong, functional base for all your projects.
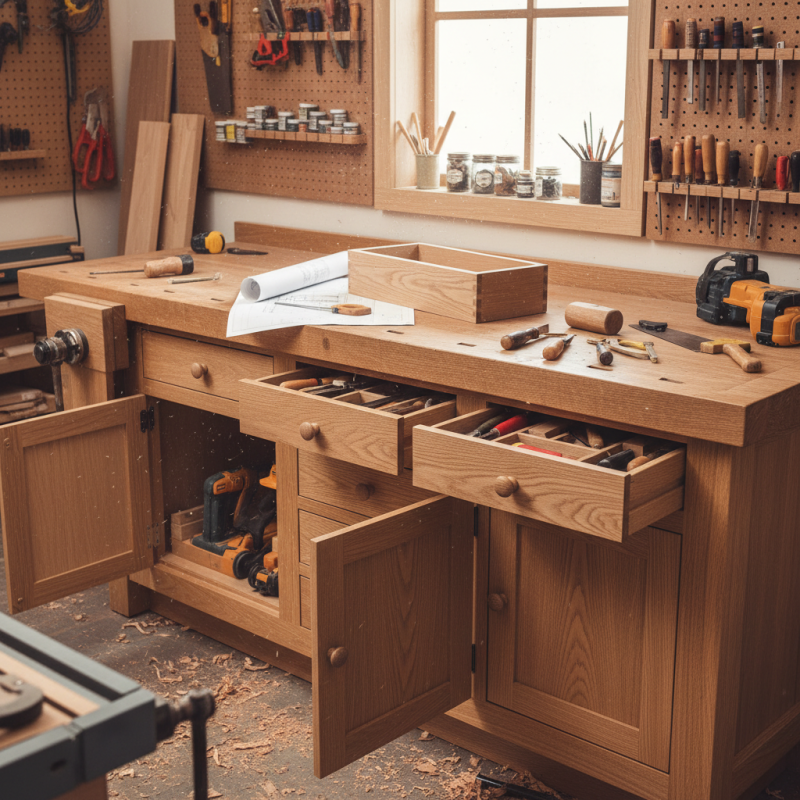
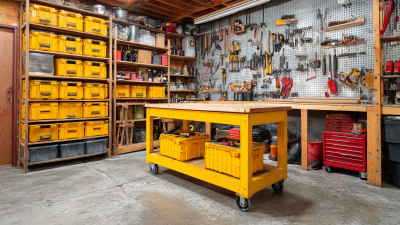
A cabinet workbench not only provides workspace, but also storage for tools and materials. Imagine having everything you need within arm's reach. Proper planning is vital for this project. Consider your workspace and what features are necessary. It might seem challenging, yet building could reveal your craftsmanship strengths and weaknesses.
Mistakes are part of the learning journey. Maybe your first attempt won’t be perfect, but refinement leads to expertise. Each scratch, dent, or misaligned joint tells a story. Creating a cabinet workbench will elevate your workshop experience, making your projects more enjoyable and streamlined. Embrace the process and let your creativity flow.
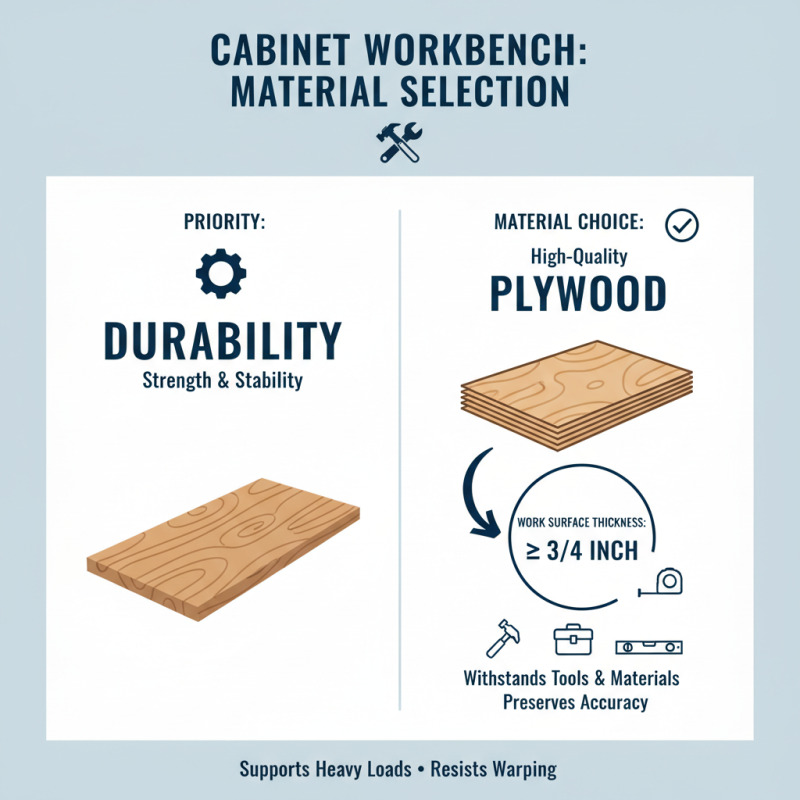
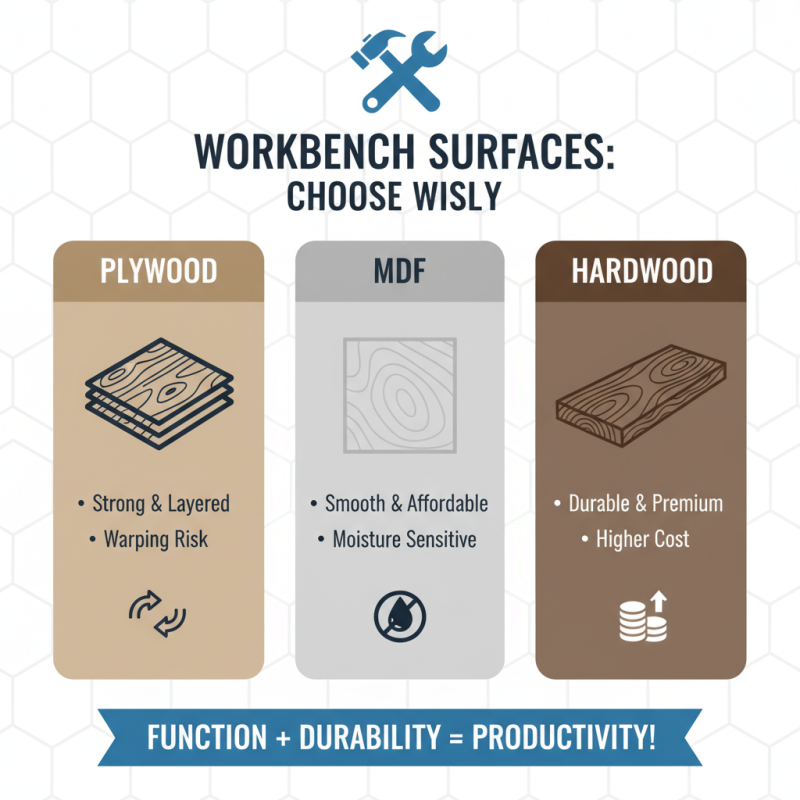
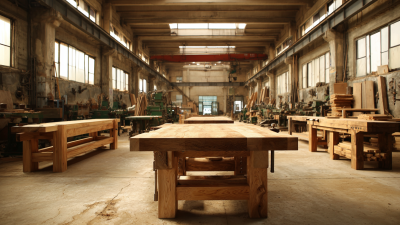
When selecting materials for your cabinet workbench, durability is paramount. Plywood is often favored due to its strength and stability. According to industry reports, high-quality plywood can support heavy loads without warping. A thickness of at least 3/4 inch is advisable for the work surface. This ensures it withstands tools and materials without flexing, preserving accuracy during projects.
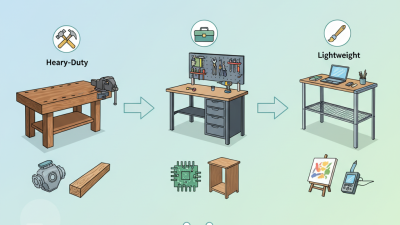
Lumber choice is also crucial. Hardwoods like oak or maple offer resilience, while softwoods like pine may be more economical. However, softwoods are prone to scratches and dents. Industry data indicates that harder woods can provide a longer lifespan, making them a better investment over time. For the frame, use 2x4s, which provide a balance of affordability and strength. Consider reinforced joints to enhance stability and longevity.
Don’t overlook the finish of your workbench. A protective sealant can prevent damage from moisture and spills. Yet, applying too much finish may create a slippery surface, hindering grip on tools. Remember, your workbench is a functional space. It's okay to make mistakes along the way. Every error offers insight into design improvements. The process itself is part of the journey. Choose materials wisely, and reflect on your choices as you build.
Designing the layout of your cabinet workbench requires careful thought. Start by considering the space available in your workshop. Measure the area where you want to place the bench. Ideally, a workbench should allow enough room for movement and additional equipment. A common size is around 60 inches long and 30 inches deep. However, these dimensions may vary based on your needs. If this space feels cramped, adjust accordingly.
Next, think about the height of the bench. A standard height ranges from 31 to 36 inches. Try to match the height to your own comfort while working. If you have different tools, consider their sizes as well. It’s crucial not to create a bench that is too high or low. This might lead to strain during extended use. Don’t forget about storage! Plan for drawers or compartments within the cabinet. This can help organize tools effectively. Consider your workflow. Will you need more space on one side for assembly? Reflect on how you work best, and let that shape your design.
Building a cabinet frame is essential for a sturdy workbench in your workshop. The right frame can increase your workspace's functionality. According to a report from the Woodworkers Guild, nearly 70% of DIY enthusiasts prefer custom-built workspaces. This means understanding the cabinet structure is vital.
Start by selecting high-quality plywood for the frame. Ensure each piece is cut precisely to size. A minor error can lead to instability. Assemble the frame using strong screws, avoiding glue for adjustments later. Consider that around 30% of home workshops fail due to poor construction choices. Reinforcing corners with brackets can provide extra support.
Pay attention to dimensions. A common mistake is making the frame too wide or too narrow. A functional workbench should stand about 36 inches high, allowing for comfortable use. Use a level to guarantee your frame is straight. Reflect on your design as you work; adjustments may be necessary. Woodworking is a journey of learning, and each mistake offers a valuable lesson.
| Step | Description | Materials Needed | Time Required |
|---|---|---|---|
| 1 | Gather all necessary tools and materials. | Screwdriver, saw, measuring tape, wood screws | 30 minutes |
| 2 | Measure and cut the wood pieces for the cabinet frame. | Wood planks, measuring tape | 1 hour |
| 3 | Assemble the upper frame using wood screws. | Wood screws, screwdriver | 45 minutes |
| 4 | Build the lower support structure. | Wood planks, wood glue | 1 hour |
| 5 | Attach side panels and back panel to complete the frame. | Side and back panels, screws | 1 hour |
| 6 | Sand down the edges for a smooth finish. | Sandpaper | 30 minutes |
| 7 | Finish with paint or varnish for durability. | Paint or varnish, brush | 1 hour (plus drying time) |
Choosing the right work surface for your cabinet workbench is crucial. A solid surface can enhance functionality and durability. Consider materials like plywood, MDF, or hardwood. Each has its pros and cons. Plywood is strong but can be prone to warping. MDF is smooth and affordable but lacks resistance to moisture. Hardwood provides a durable surface but is more expensive.
Think about the type of work you will do. If you frequently cut or hammer, choose a thicker surface to withstand wear. Also, consider adding a protective layer. A plastic laminate surface can offer a protective barrier against scratches.
Don’t forget to account for thickness when planning your workbench. A surface too thick could make your bench uncomfortable to work at. Aim for a balance. After installation, test the surface with your usual tools. There may be adjustments needed. Refine the edges or reinforce weak spots based on your experiences. This iterative process can lead to a more tailored workspace.
Adding finishing touches to your cabinet workbench can dramatically enhance its functionality. Drawers are essential for organizing tools. They keep your workspace tidy and easily accessible. According to a report from the Woodworking Institute, 73% of carpenters prefer workbenches with built-in storage solutions. This is because efficient organization saves time and boosts productivity.
Incorporating shelves can further maximize your bench's potential. Floating shelves are a popular choice. They provide easy access to frequently used items while freeing up surface space. Furthermore, accessories like pegboards can keep tools visible, reducing search time. Studies show that workers spend up to 30% of their time looking for tools. A well-planned layout minimizes frustration.
However, be mindful of the sizing and placement of your drawers and shelves. Overcrowding can lead to a cluttered workspace. Not every tool fits neatly into drawers either. A surface cluttered with tools can hinder creativity and lead to mistakes. Evaluating what you truly need will help create balance.
1901 West Main Street
Washington, MO 63090
Main Directory: 1-800-227-4873
Email: sale@pangcofurniture.com

We’re always looking for talented individuals to join our team. Send us your resume using the form below. When a position comes available that matches your skillset, one of our team members will reach out to you.
"*" indicates required fields
